Start by cleansing your face thoroughly and exfoliating 24 hours prior. Apply moisturizer only to extremely dry areas before tanning. Use a facial-specific self-tanner with a mitt for even application, and protect sensitive areas like eyebrows and hairline with barrier cream. Apply in circular motions, blending into your neck and ears. Let the product develop for 2-6 hours, then maintain with daily moisturizing and gentle exfoliation every few days. The following steps will transform your at-home facial tanning routine.
Key Takeaways
- Thoroughly cleanse your face and exfoliate 24 hours prior, applying moisturizer only to extremely dry areas before self-tanning.
- Use facial-specific self-tanning products and a quality tanning mitt for even application and better control around delicate features.
- Apply barrier cream along hairline, eyebrows, and around eyes to prevent staining sensitive areas.
- Use circular motions for even coverage, blending into hairline, neck, and ears for a seamless transition.
- Allow tan to develop for 2-6 hours, then maintain with regular moisturizing and light exfoliation every few days.
Prepping Your Skin: Cleanse and Exfoliate
Before applying any self-tanner to your face, proper skin preparation is essential for achieving that perfect sun-kissed glow. Start by thoroughly cleansing your face to remove all makeup, oils, and impurities that could prevent the self-tanner from absorbing evenly.
Exfoliate your skin 24 hours before tanning using a gentle product like Beekman 1802 Milk Glaze. This removes dead skin cells and helps prevent patchy results. Pay special attention to areas prone to dry skin, such as around your nose and eyebrows.
While you’ll want to avoid applying moisturizer to most of your face before tanning, you can apply a small amount to extremely dry patches. This balanced approach ensures your tan will develop naturally while protecting vulnerable areas from becoming too dark.
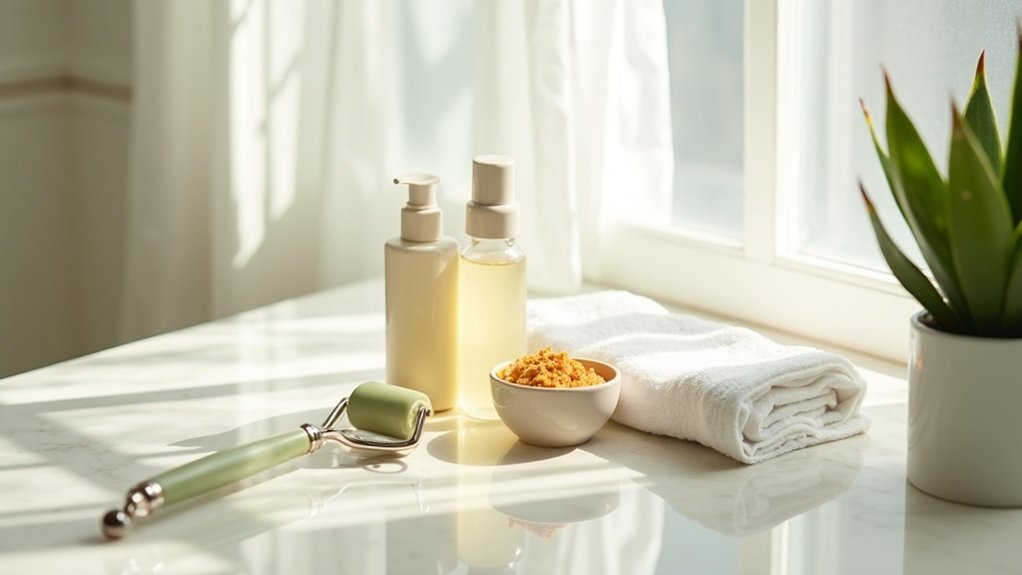
Essential Tools and Products for Facial Tanning
When tanning your face at home, you’ll need specific tools to achieve that sun-kissed glow without the streaks or stains.
A quality self-tanning mitt protects your hands from discoloration while ensuring even application of your facial tanning products.
For best results, invest in facial-specific formulas like Loving Tan Deluxe Face Tan or Purest Face Tanning Serum, which are designed to work with your skin’s natural chemistry and provide a natural-looking bronze.
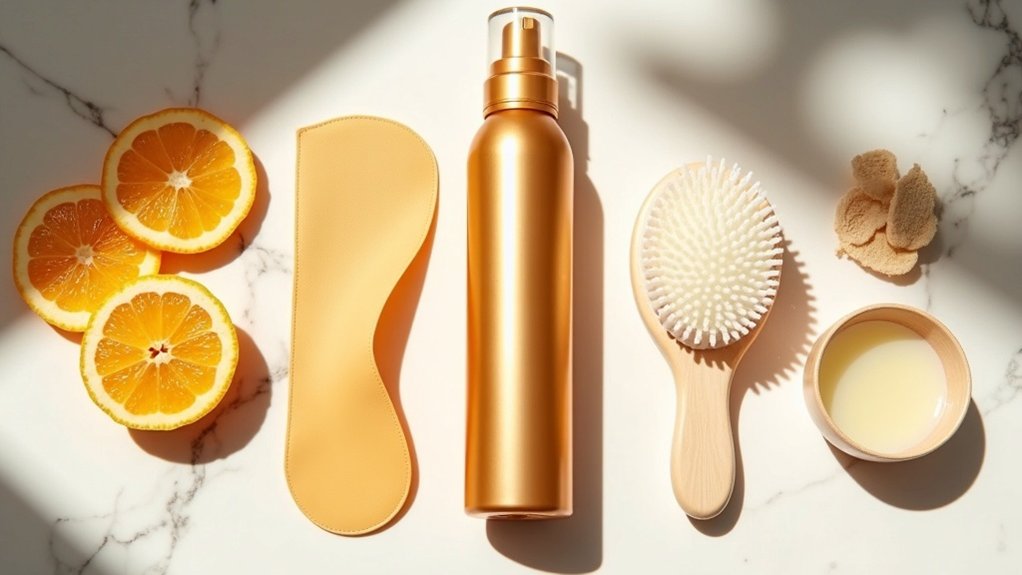
Application Tools
The right tools transform your at-home facial tanning experience from potentially messy to perfectly polished. A Self Tanning Mitt is essential for achieving a natural-looking tan, especially if you have sensitive skin. This mitt ensures even product distribution while preventing those telltale orange palms.
For precise facial application, you have several effective options. Standard mitts work well, but smaller, face-specific mitts offer better control for delicate areas. Many beauty enthusiasts also find black beauty blenders perfect for blending product into tricky spots like around your nose and ears.
If you’re applying without tools, use your fingertips in gentle circular motions, but always wash your hands immediately afterward.
Remember to blend carefully into your hairline, neck, and ears for a seamless finish that looks professionally done.
Product Selection Basics
Selecting the right facial tanning products can make all the difference between a natural, radiant glow and an uneven, orange disaster. When exploring product selection basics, look for self tanners specifically formulated for facial application, such as Loving Tan Deluxe Face Tan or Purest Face Tanning Serum.
These products are designed to be safe for sensitive facial skin while delivering beautiful results.
Always have an Applicator Mitt ready for even application that won’t stain your hands. If you’re new to facial tanning, consider a gradual tanning moisturizer that builds color slowly, allowing you to customize your tan depth.
Products with clear guide colors help you track where you’ve applied the tanning product, preventing patchy results. Choose vegan and cruelty-free options for a more ethical tanning experience.
Protecting Sensitive Areas: Eyes, Brows, and Hairline
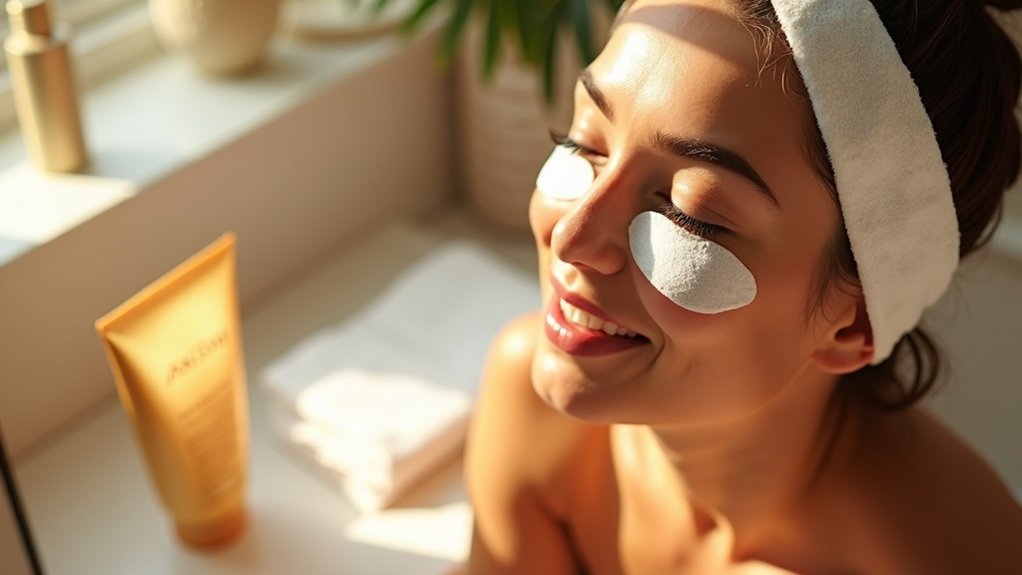
When applying self-tanner to your face, you’ll need effective barrier methods to protect your sensitive areas from unwanted color transfer.
Try creating a protective shield by applying moisturizer along your hairline, eyebrows, and around your eyes before tanning.
You can further safeguard your eyes by wearing sunglasses or placing cotton pads over your eyelids, ensuring these delicate areas remain untouched by the tanning formula.
Barrier Method Techniques
Protecting sensitive areas on your face becomes essential when applying self-tanner at home, as these regions can easily develop unnatural-looking color or become irritated from product exposure.
Apply a thin layer of barrier cream or petroleum jelly around your eyes and brows using a makeup brush or cotton swab for precision. This creates a protective shield that prevents self-tanner from seeping into these delicate areas.
When applying your tanner, carefully blend outward from the center of your face, avoiding direct contact with protected regions. For your hairline, use translucent powder or a headband to create a clean boundary.
Always wash your hands thoroughly after application to prevent accidentally transferring product to sensitive areas. This technique ensures even coverage while maintaining natural-looking results that enhance rather than overwhelm your facial features.
Preventing Color Transfer
Self-tanner can easily migrate to unintended facial areas, resulting in uneven color or obvious staining where you don’t want it. To protect sensitive areas like your eyebrows, hairline, and eyes, apply a thin layer of barrier cream or moisturizer before self-tanning. This creates a protective shield that prevents unwanted color absorption.
For precise application around delicate features, use a makeup brush or cotton swab to distribute the barrier cream evenly. When tanning near your eyes, consider wearing sunglasses for added protection, or place cotton pads over your eyelashes to avoid staining.
Remember to immediately rinse any self-tanner that accidentally touches these sensitive areas. This quick action will significantly reduce the risk of color transfer and ensure your facial tan looks natural and professional rather than patchy or uneven.
Perfect Application Techniques for Even Coverage
To achieve a flawless facial tan at home, mastering the proper application technique stands as your most crucial step. Apply tanning products using your fingertips in circular motions across your face, ensuring even coverage and preventing unwanted streaks.
Don’t forget to carefully blend the product into your hairline, neck, and ears to create a seamless transition between areas.
After application, wash your hands immediately to avoid stained palms and fingers. Then, allow your tan to develop for the recommended 2-6 hours, depending on how deep you’d like your color to be.
If you’re concerned about sensitivity, try mixing your tanning product with moisturizer for a lighter, more gradual result. This approach helps you achieve that natural, flawless tan while protecting your skin.
How to Blend for a Natural-Looking Finish
Achieving a natural-looking finish relies on three essential blending techniques that separate amateur tanning from professional-quality results.
When tanning your face, apply product in circular motions using your fingertips to ensure even distribution across all areas. Don’t forget to carefully blend into your hairline, jawline, and ears to eliminate harsh lines between your face and neck.
For areas prone to over-darkening like your nose and temples, use a lighter touch to maintain a balanced appearance.
For a truly flawless finish, try mixing your self-tanner with moisturizer before application—this creates a more subtle, natural glow.
Remember to rinse your hands thoroughly immediately after application to prevent staining and remove excess product that could compromise your results.
Drying Time and Post-Application Care
Once your tanner is properly blended, you’ll need to focus on proper drying time and aftercare for lasting results.
Allow your self-tanner to dry completely before putting on clothes or accessories to prevent streaking. If you’re in a hurry, use a hairdryer on a cool setting to speed up the process.
Wait 2-8 hours for your tan to dry and develop before rinsing, following the specific instructions on your product. During this time, avoid sweating or activities that might rub against your skin.
For post-application care, always apply moisturizer daily to maintain hydration and extend your tan’s life.
Cleanse your face gently to avoid prematurely fading your color. With proper drying time and consistent aftercare, you’ll enjoy a natural-looking facial tan for days.
Maintaining Your Facial Tan for Longer Results
While your newly applied self-tanner might look perfect initially, facial tans require special maintenance to preserve that sun-kissed glow. Reapply your facial tanning products every few days, as face skin fades faster due to frequent washing. Products like Loving Tan Deluxe Face Tan or Purest Face Tanning Serum offer refreshment while enhancing your bronzed complexion.
One of the essential tanning tips is light exfoliation every few days to maintain smooth skin, but don’t overdo it or you’ll remove your tan prematurely.
Follow exfoliation with a gradual tanner to boost your glow. Consistent moisturizing is crucial, especially on dry areas, to prevent patchy fading and maintain an even facial tan.
With these maintenance techniques, you’ll extend the life of your tan while keeping your skin healthy and radiant.
Troubleshooting Common Facial Tanning Issues
Even with careful application, facial self-tanning can sometimes go awry. If you notice an uneven complexion or patchy areas, insufficient exfoliation is likely the culprit. Always prep your skin 24 hours before application to create a smooth canvas for the tanner.
Dark spots commonly appear when self-tanner clings to dry facial areas. Combat this by applying a thin layer of moisturizer to potentially problematic spots before tanning. For an overly dark or orange result, try diluting your product with moisturizer for a more natural finish.
Always use an applicator mitt during the process to protect your hands from staining, and rinse them immediately after application.
To manage uneven fading, incorporate gentle exfoliation into your routine every few days, and apply gradual tanner to maintain consistent color.